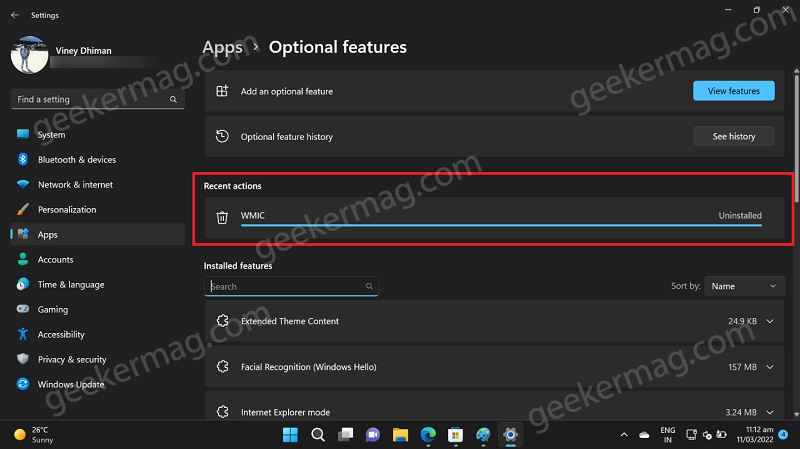
FYI, WMI command-line (WMIC) is a nifty tool using which users can execute Windows Management Instrumentation (WMI) operations. WMIC is compatible with existing shells Command Prompt & PowerShell and utility commands. Starting with Windows 11 build 22572, the company now brought back WMIC as an Optional features. It gives full control to users whether they want to keep it or remove.
How to Uninstall and Re-Install WMIC in Windows 11
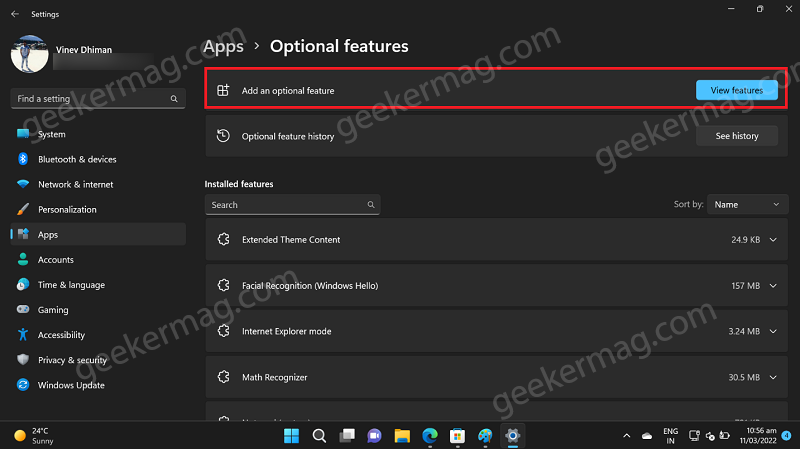
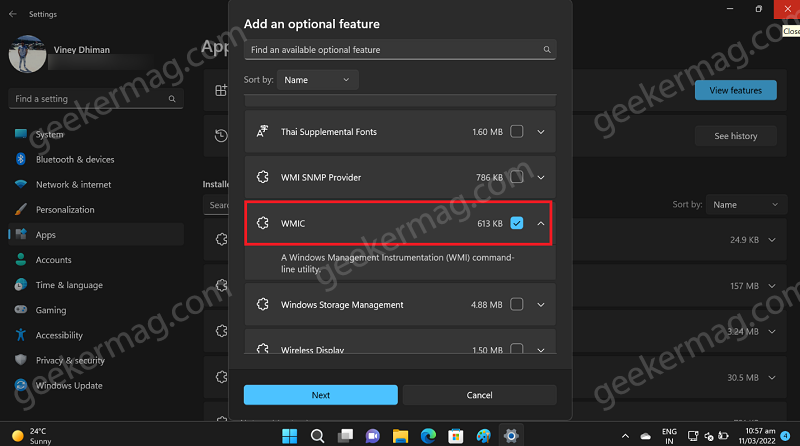
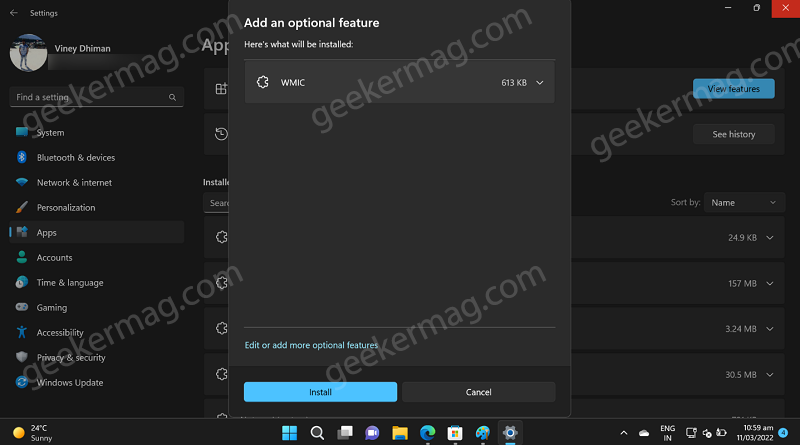
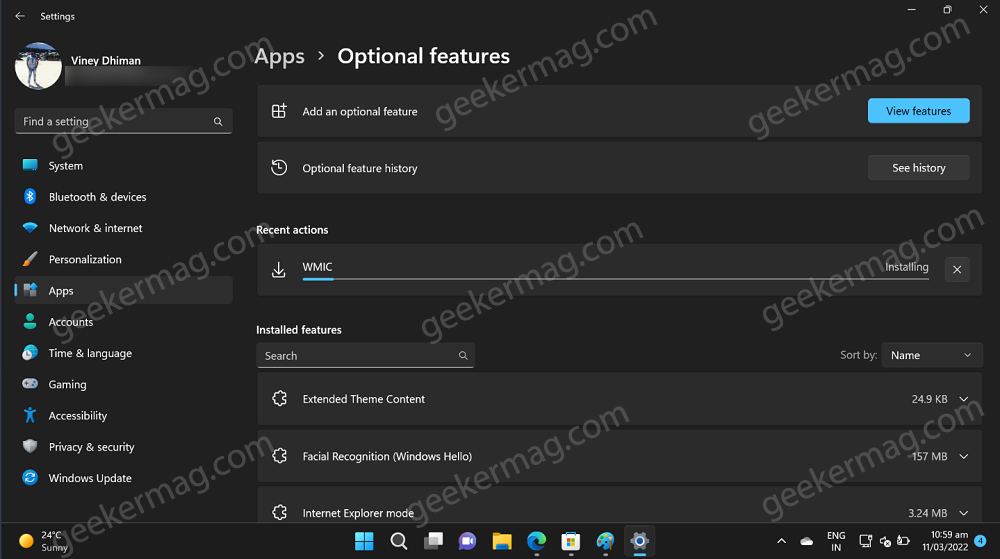
Out of the box WMIC is installed in Windows 11. In case, due to any reason its unavailable, then here’s how you can install it Click on the Search icon available on the taskbar and type Optional features, when it appears in search results, click to open it. It will take you to Optional feature settings page in Windows 11. Here, locate ‘Add an optional feature‘ entry and click ‘View features‘ button next to it. A dialog box will appear showing you list of all the available features that you can install. Here, locate WMIC and check the box for it, and click Next button. In the next screen, click on Install button. This will start the installation. Once done, reboot your computer to apply the changes. In case, you don’t find WMIC useful and would like to uninstall WMIC from Windows 11, then here’s how you can do that: Following steps discussed above, you need to reach Optional feature settings page. From the list of installed feature, locate WMIC, click on down arrow icon on the right side and then click Uninstall button. Wait for few seconds to complete the uninstall process. So this is how you can install and uninstall WMIC in Windows 11. Are you happy with Microsoft action of adding WMIC as optional feature in Windows 11? Let us know your opinion in the comments.
